Card and Label Maker Software Screenshots
Card and label maker software to create professional cards that are suitable for all kinds of businesses and organizations. With the help of advanced image designing objects like stars, lines, text, barcodes and other object, you can create customized labels. Using the software built-in email setting, users can send designed cards and labels to specified email IDs. Program allows users to create Wishing cards, Gift vouchers, Discount labels, and Business templates etc. Using the advanced print settings, you can print multiple designed cards at a time. With the use of batch processing series features, you can design and print multiple cards at one time.
Process to create customized card and label Using Card and Label Designer Software:
Step1: To design card and label, choose any one of the option for New Label Format

Select any one option from Create Label by Using Wizard and Create Label with Blank Format then enter the Name, Label Size and Label Shape.
- Select either "Create Label with Blank Format" or "Create Label by Using Wizard" as your initial step.
- Now use the wizard to create a label. To proceed, press the "Next" button.
- Choose the label name, Size (height and width), and label shapes (Rectangle, Rounded Rectangle, Ellipse).
- CD/DVD option lets you choose between standard and mini-size for cards.
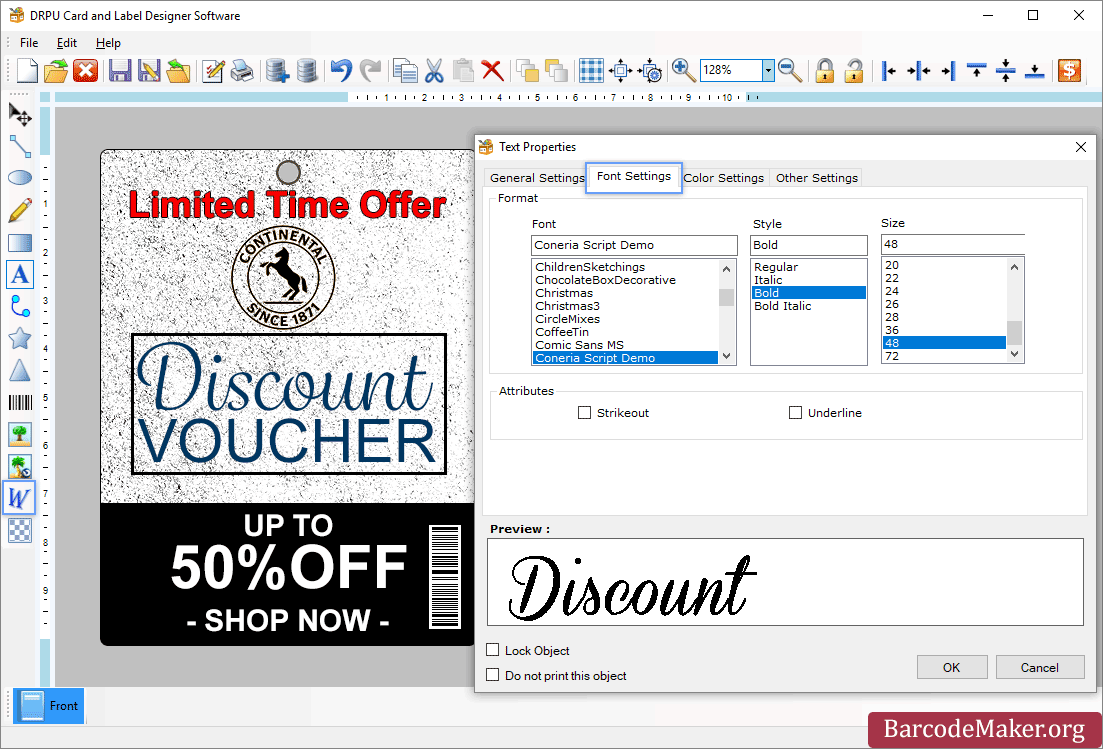
Step2: Change text properties like text color, font and other settings using the text properties option.

In Text Properties, change the General Settings, Font Settings and Other Settings of the card.
- Using the drawing tools available on the left strip of screenshots, you can add text, word art, barcodes, and different shapes.
- You can adjust the text position and choose the data source with the help of settings.
- Using the color setting option, change your text color and background color of text by adding solid and gradient color.
- You can change the border style and color and rotate the angle of text using other settings.
- To add different objects on the card and set the properties of them like position, border and color as per your need.
Step3: Select the print option from the toolbar and enter the required information to print your designed label.

Set the Properties and margin to print the barcodes.
- Enter the height, width, and orientation of the label.
- Set print settings, such as margins (Top, Bottom, Left, and Right).
- To prevent printing errors, there is also a print preview option available.
- Print the card and label you created after adjusting the print settings.